Blog
How to Install a Wireless Alarm System in 30 Minutes (Step-by-Step Guide)


How to Install a Wireless Alarm System in 30 Minutes (Step-by-Step Guide)
Installing a home alarm system used to mean calling a technician and spending hundreds on labor. Not anymore.
With a wireless DIY alarm system, you can fully secure your home in under 30 minutes — no drilling, no tools, no contracts.
Here’s exactly how to do it.
🔧 What You’ll Need
Most modern alarm kits (like HomeGuard DIY) include:
Main control panel (hub)
Door/window contact sensors
Motion sensor(s)
Loud siren
Mobile app access
Double-sided tape or adhesive mounts
✅ No wires
✅ No Wi-Fi required for basic operation
✅ Mobile alerts without monthly fees
🕐 Total Setup Time: 25–30 minutes
👤 Skill Level: Beginner
🪪 Step 1: Choose the Right Location for the Control Panel
Pick a central spot near your main entry or hallway.
🔒 Pro Tip: Make sure it’s easily accessible to disarm quickly, but not visible from outside.
Mount on wall or place on a shelf
Plug it into a nearby power outlet (if needed)
Pair it with the mobile app (usually via QR code or Bluetooth)
⏱️ Time: 5 minutes
🚪 Step 2: Install Door and Window Sensors
These are the heart of your intrusion detection.
Clean surface with alcohol wipe
Peel backing from adhesive
Stick sensor half on frame, magnet half on moving part (door or window)
📏 Must be aligned within 1 cm of each other when door/window is closed.
⏱️ Time: 10–12 minutes for 3–4 sensors
👁️ Step 3: Place Motion Sensor(s)
Put them in rooms with large open areas (e.g., living room, hallway).
Mount 6–8 feet off the ground
Angle toward entry points
Avoid pointing directly at windows, fans, or heat sources
🐶 Have pets? Look for “pet immune” sensors that won’t trigger from small movements.
⏱️ Time: 3–5 minutes per sensor
📲 Step 4: Connect and Test the System
Using the app:
Arm/disarm the system
Open a door/window to confirm alerts
Trigger motion sensor to ensure it detects movement
Adjust settings for entry/exit delays, alert tones, etc.
✅ Test all zones before activating full-time protection.
⏱️ Time: 5–7 minutes
🧩 Optional Add-Ons (Highly Recommended)
Enhance your system with:
Add-On Sensor | Function |
---|---|
Smoke Detector | Alerts on fire or smoke |
Gas Leak Sensor | Notifies if gas is detected |
Water Leak Detector | Ideal for kitchens, laundry, basement |
Indoor Camera | View live video from mobile app |
🛡️ Why HomeGuard DIY Makes It Easier
Unlike some systems that require pairing, wiring, or subscriptions, HomeGuard DIY kits are:
Pre-configured out of the box
Stick-on install, no drilling
Work with or without Wi-Fi
Offer real-time mobile alerts — no fees, ever.
🔗 Shop the DIY Smart Alarm Kit »
💬 Final Thoughts
You don’t need an installer or a monthly contract to protect your home.
With the right wireless alarm system, you can do it yourself — today.
✅ Under 30 minutes
✅ Complete control from your phone
✅ No tools. No wires. No worries.
👉 Ready to protect your home right now?
Related Posts
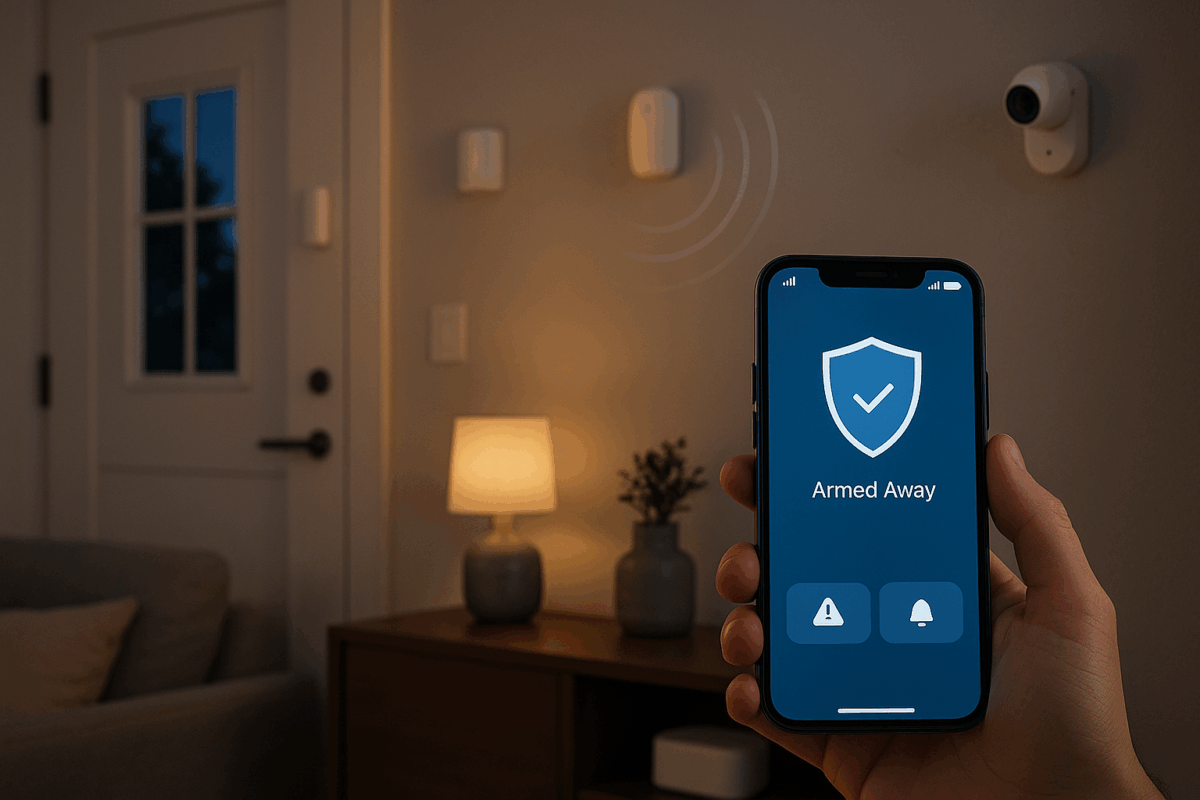
Smart Home Security System (DIY): Wireless Alarm, App Alerts & No Monthly Fees | HomeGuard DIY
-
Posted by
admin
The Best Wireless Home Alarm System in 2025 (No Monthly Fees)
-
Posted by
admin
5 DIY Home Security Tips That Actually Work in 2025
-
Posted by
admin